
How to photograph aircraft
Photographing fast-moving subjects can be quite an intimidating and often scary process but it needn't be. If you have a basic understanding of how your camera works then photographing fast-moving jets and propeller aircraft can be a straightforward process. It's probably much easier than you think!
New to aviation photography? fear not, I've got you covered!


How to photograph aircraft at the Mach Loop and Airshows
In this video, I teach you how to photograph aircraft.
Basic to Advanced techniques. Jets and Propeller aeroplanes!
Aviation Photography
If you're just starting your adventure into Aviation Photography, first of all well done! I guarantee you'll love it, but heed my warning, it's very infectious! In no time at all, you'll find yourself setting your alarm clock for stupid o'clock in the morning and driving long distances just to catch a glimpse of an aircraft that needs ticking off your wish list. I didn't mean it to sound like train spotting but at times...

How to photograph aircraft
I always say the best place to start is at the very beginning. So, to make things easier I will split this tutorial down into 3 easy to understand techniques. The basics then onto Good Photography Practices and then onto advanced techniques. I will also add a few tips to help your strike rate whilst in the field.
BASICS
The most important element in photographing aircraft or anything that moves for that matter is the camera's shutter speed. Your camera's shutter controls how moving subjects will look.
Fast Shutter Speeds = will freeze motion
Slow shutter speeds = will blur motion
Having said that, freezing and blurring subjects depend on 2 elements.
1) How fast the subject is moving
2) How far away the subject is from you
You don't need to worry about the above too much but you do need a basic understanding of it. A good example of this is; A human jogging at 5 MPH close to your camera will seem to be moving much quicker than an aircraft travelling at 500mph 30,000 feet in the sky. Yep, it's that simple! Just calculate how fast the subject is moving relative to the camera.

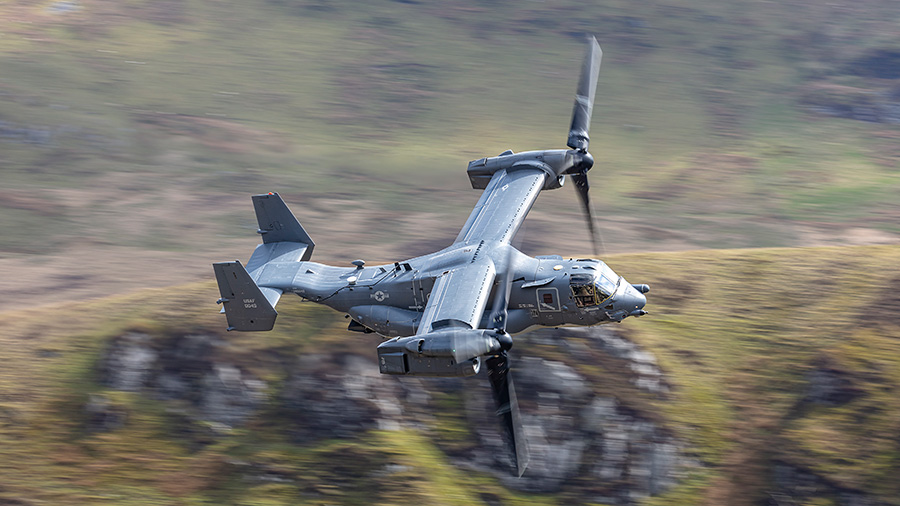
Slow Shutter Speed and panning create a blurry background

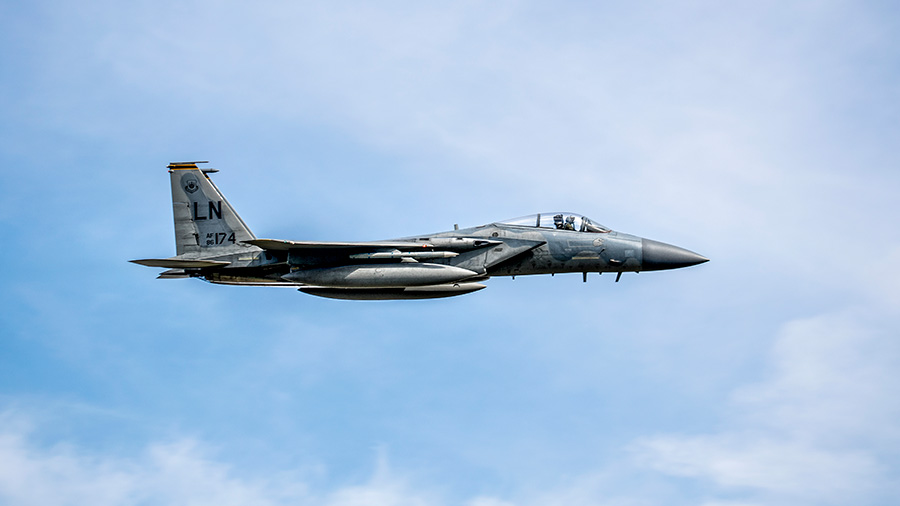
Fast Shutter speed freezes motion
What light metering?
Selecting the correct metering mode will depend on your preferences. Understanding how your meter system works will determine the outcome of the image.
I use "Evaluative Metering (Matrix)". Evaluative metering will read the light across the whole of the sensor. I prefer this method simply because I don't want my skies to be over-exposed.
Centre-Weighted and Spot Metering are more accurate but can come with drawbacks. An example of this is when the camera reads the light from the underside of a banking aircraft that is shaded by the sun. The aircraft will be correctly exposed but to the detriment of the sky. In this example, the sky might appear pure white in the scene. That's ok if that's your preference!
What Focus mode?
I use AISERVO (AFC). This is a constant focus mode. It's important to use this method so the aircraft is tracked throughout its flight path.
A lot of modern cameras use AI tracking. If your camera offers this I would suggest using it.
Focus Points?
I use a clump of 9 focus points that are located in the centre of the frame. If your camera isn't as programmable as mine then I would suggest using a single point of focus in the centre of the frame.
GOOD PHOTOGRAPHY PRACTICES
What are the recommended camera settings to use?
I would recommend using shutter speed Priority! Following on from the Basics section above I would always recommend that you photograph moving subjects with a semi-automatic camera setting. The setting is Shutter Speed Priority. This way you can dial into your camera the most important setting of all, your shutter speed!
Canon = TV (Time Value)
Other brands = S (Shutter)
More often than not, you'll have to make a split-second decision on what shutter speed to use. If all you have to worry about is what shutter speed to use, then life doesn't get any easier!
TIP - If you use any of the semi-automatic modes then I would suggest you set your ISO to auto. This way you only have to give consideration to the most important element I.e. your shutter speed or your aperture value!
ADVANCED PHOTOGRAPHY TECHNIQUE
What are the best camera settings to use?
I use "Manual Mode" (M). I prefer to take full control and use Manual Mode. Having said that, I use manual mode but with an automatic element, let me explain...
When shooting aeroplanes or wildlife I set my shutter speed and aperture to the values I require and set my ISO to auto. This way my ISO will take care of any fluctuating light whilst following the subject.
This is a great example; Imagine I'm in the field photographing fast-moving subjects i.e. jets or birds...
- I set my shutter speed to 1/1000 sec - 1/2000 sec.
(Fast shutter speed to freeze the subject) - I set my aperture to F8
(Small aperture will offer a large depth of field) - I set my ISO to auto
(adjusts automatically to fluctuations of light)
In the example above, I take full control of the elements I know are the most important. I.e. the shutter speed and aperture. I then let the camera's ISO adjust to the lighting conditions.
What is the best shutter speed to photograph aircraft?
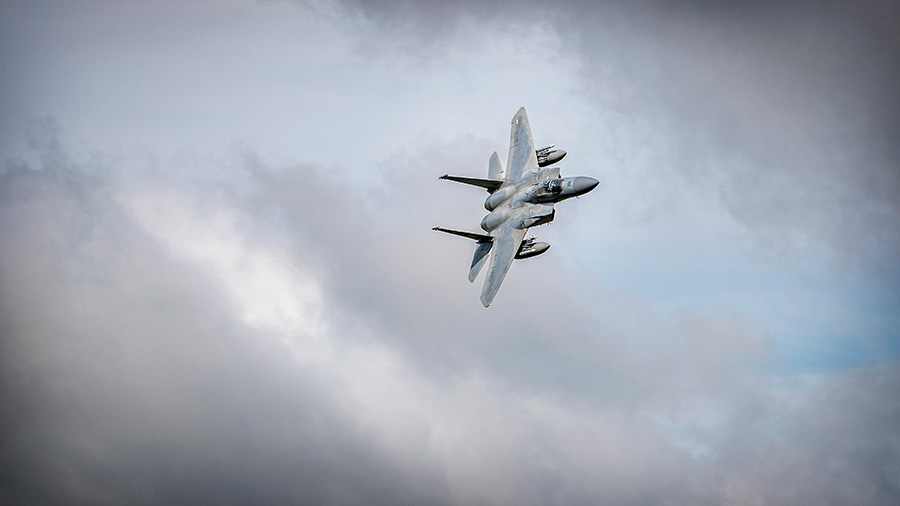
- Jets = 1/1000 - 1/2000
- Jets whilst panning = 1/125 - 1/250
- Propeller aircraft - 1/123
JETS - Photographing jets is fairly straightforward. You either use a fast shutter speed to freeze the aircraft and the background. Or you can opt for a slow shutter speed and pan with the subject. Therefore freezing the aircraft and adding motion to the background.
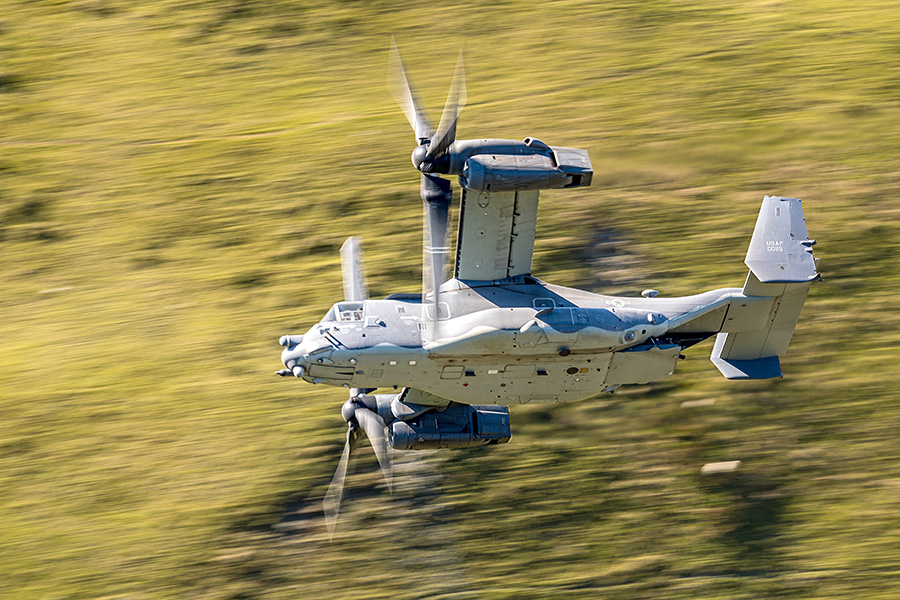
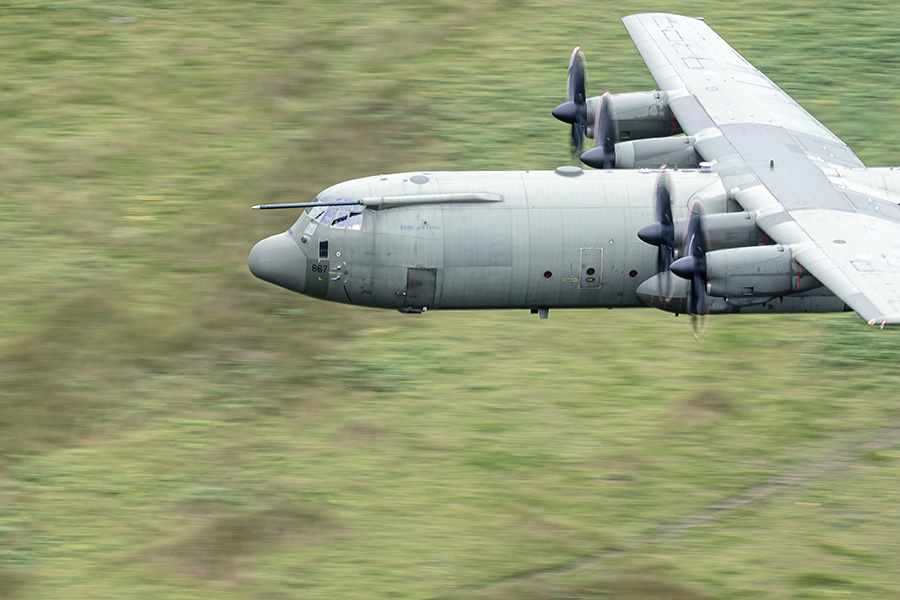
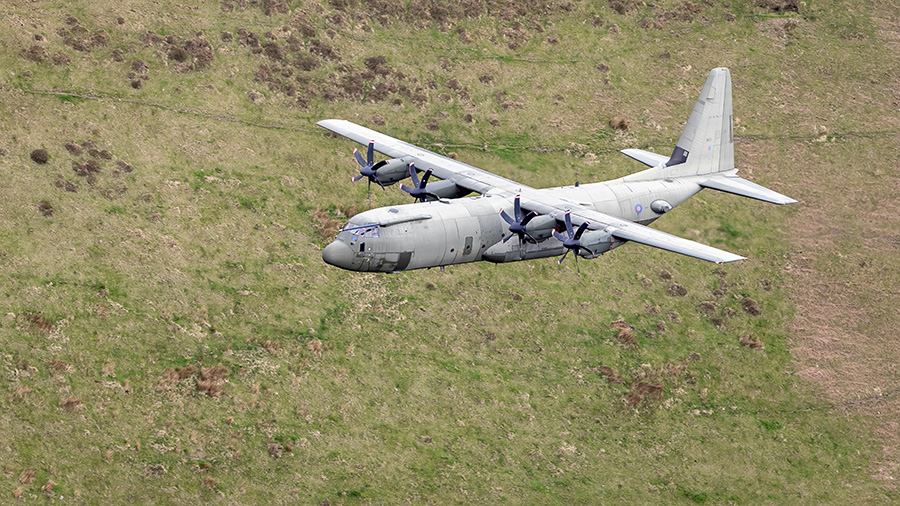
PROPELLER AIRCRAFT - Photographing is a little different!
It's only different because propeller aircraft have moving parts, i.e. their propellers. It's important that we don't opt for a shutter speed that is too fast which will freeze the propellers. An image of a flying aircraft with stationary propellers is never a good look. If you ever made an Airfix aeroplane when you were younger and hung it up on your bedroom ceiling it would look just like that!
The shutter speed is too fast. The propellers are too stationary
This is how the propellers should look
Because of this, the simple solution is to just slow your shutter speed down. But hand-holding your camera with a long lens whilst photographing a moving subject is a recipe for disaster! Whilst I said it was easy I didn't say it was easy to get right!
Any shutter speed around the 200th-second mark will work. Just be aware of the issues around using a slow shutter speed with a long lens of a moving subject and try your best to hold your camera firmly. (see tip #3 below)
Tips for Aviation Photography
TIP # 1
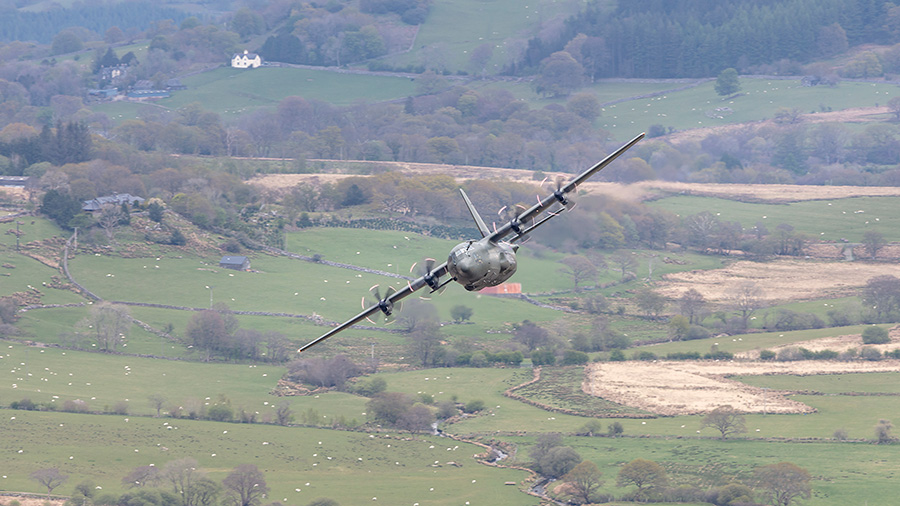
Be Creative and learn to pan
Panning means to follow. Panning with a subject can produce amazing results!
Let's use fast jets as an example. Typically, when photographing quick subjects you would opt for a fast shutter speed. But instead, use a slow shutter speed and pan with the subject.
Imagine holding your finger in front of your lens and moving your finger quickly to the left and to the right. Now follow your finger whilst looking through the camera's viewfinder. Your finger now stays still relative to the camera but the background is moving.
I demonstrate panning @ 08:40 on the video above
TIP # 2
Zoom out! - Nasal Hair photography is rarely flattering!
It might seem an odd thing to say but it's so important that you remember to story tell! Zooming in is great but it will only ever show the aircraft up close. Whilst this is fab it fails to story tell!
The Mach Loop is a great example of this. Imagine aircraft screaming through a picturesque Welsh valley. Even if you've never been to the Loop before I bet you've already got a picture of it in your mind. Well then imagine going to such an incredible location and coming home with a dozen images of cockpits!
Nasal-Hair photography is great but remember to zoom out and story tell!
TIP # 3
Get a grip! Hold your camera like a pro!
A good grip technique can often pay dividends. A large percentage of images from a trip to the Loop or your nature reserve will end up in the bin. It's usually down to miss-timing, missing your focus or blurry images. Whilst nobody can guarantee you a 100% success rate, getting the basics right can only help!
All of us end up with images we throw away because of the aforementioned but good practices will ensure we throw away less and less with each visit. This is obviously down to learning from your mistakes and simply getting better.
One thing you can learn to get right before you even venture out of the house is the way you hold your camera.
Just follow these simple steps...
- Hold your camera firmly with your right hand
- Use your left hand to support your lens
- Your supporting hand must be under your lens and not on top
- Pull your arms in nice and tight to your body
- Swivel from the waist
- Smooth is key!
I demonstrate this in the video above @ 15;00
Do not use full manual mode
The reason why I would suggest that you do not set all 3 elements (shutter, aperture & ISO) is simply down to ease and quickness of use.
A good example of this is to imagine setting all 3 elements and you're photographing jets at a fast shutter speed. If you then want to slow your shutter speed down, you'll have to adjust a second or third element (aperture or/and ISO) to compensate for the extra light hitting your sensor.
It might seem and quick thing to do but at the Mach Loop for instance you only have seconds to make a decision on what shutter speed you prefer.
If you're in an environment where the lighting conditions aren't going to change and you don't have to make sudden adjustments then setting all three elements is perfectly fine of course.
I hope you found this tutorial and video valuable!
Gary Gough (Pro Photographer)
More info on the Mach Loop
Is the Mach Loop worth visiting in 2022?
LINKS:
► YOUTUBE CHANNEL - CLICK
► WORKSHOPS - CLICK
► MORE ABOUT ME - CLICK
► PERSONAL WEBSITE - CLICK
► FACEBOOK - CLICK
► INSTAGRAM - CLICK

12 Responses