Landscape Photography Training
Landscape Photography Training
The following images were taken during a 1-2-1 training session in "The Lakes"
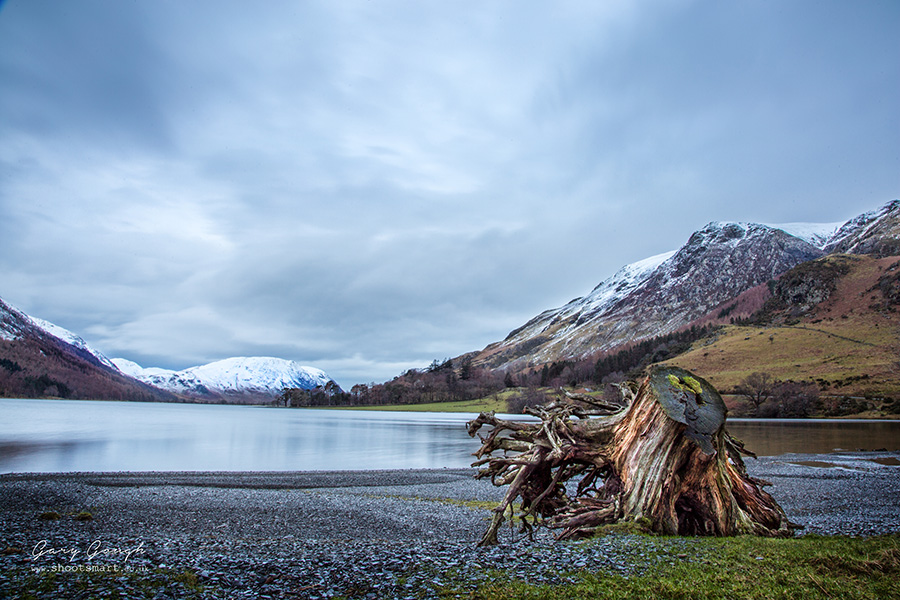
Landscape Photography Training
F22 - ISO 100 - 10sec
My favorite pictures from the day's Landscape Training were shot during what we call the "Blue Hour" The blue hour is roughly just after sunset. The best way to find out if it's the blue hour, is to simply point your camera up to the sky and take a picture. If your timing is right the sky will look very blue. This isn't visible to the naked eye.
If you like me shoot in manual you can tell it's the blue hour when your forced to set your camera to 1600/3200 iso with a wide open aperture. Never tried it before? go try it!
"The Blue Hour" Refers to the time when the sun goes below the horizon, the sky turns deep blue for a short while"
A lot of photographers don't like the blue hour and will often avoid this time or just adjust the white balance in Photoshop/Lightroom.
We spent all day travelling around the Lakes looking for locations to photograph and fell upon this amazing location on our way home. WOW! The light was falling quickly but it's exactly just how I like it. We spent around 2 hours photographing from the same spot. The later it got the better the light. The final shot was actually taken when it was pitch dark. The blue light is exactly how it appears on my camera, no manipulation and I certainly haven't boosted the colours at all.
Location: Buttermere, Honister Pass - The Lakes
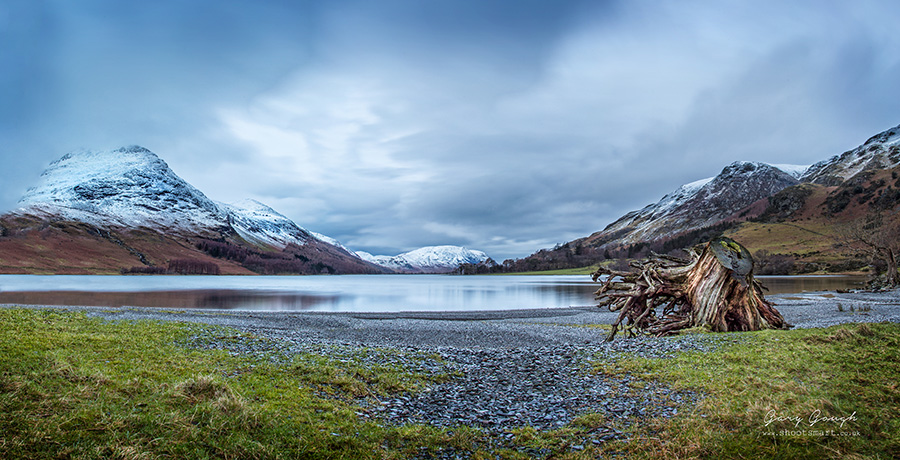 F22 - ISO 100 - 20sec
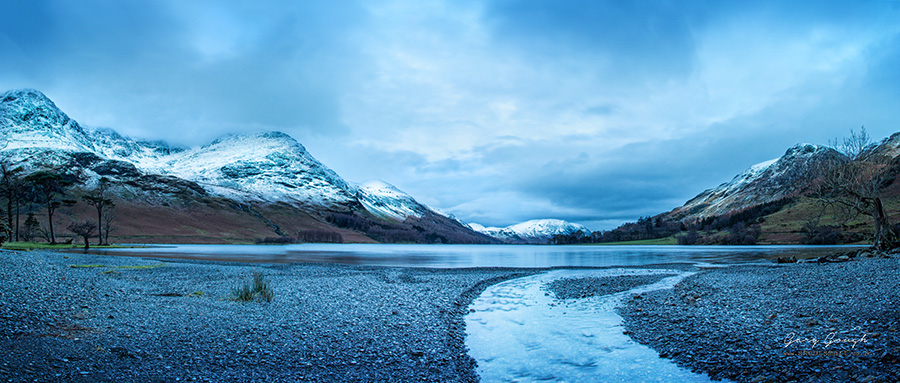 F16 - ISO 100 - 10sec
As you can see from the above picture the "Blue Hour" is just starting appear in our photos.
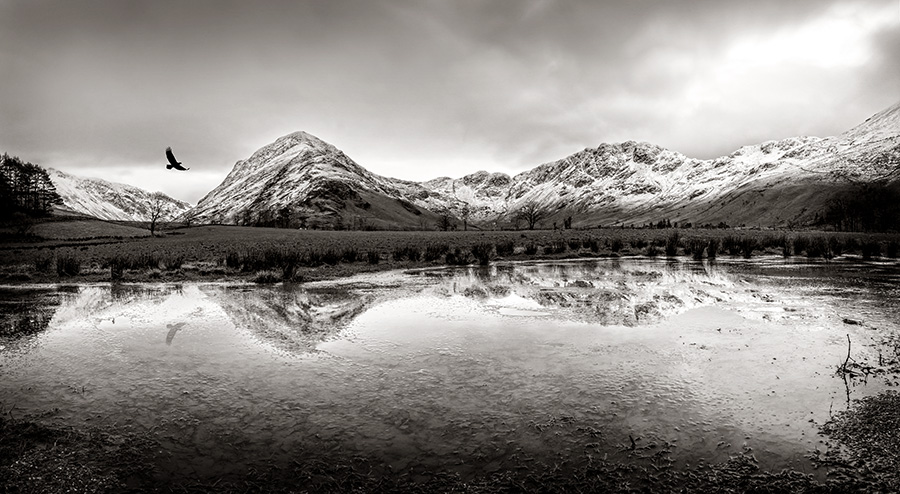
F22 - ISO 400 - 10sec
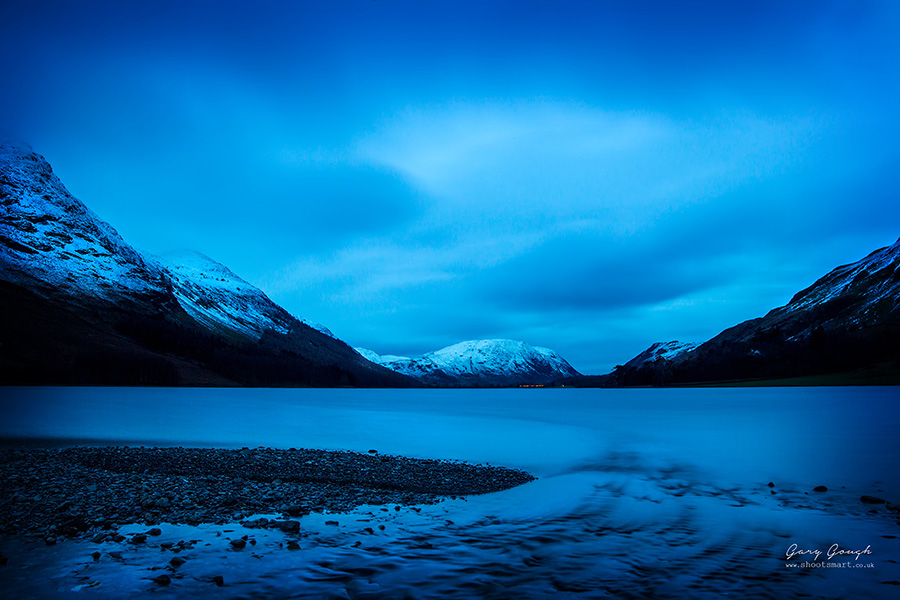 F22 - ISO 400 - 30sec
This was shot when it was pitch dark hence the 30 second shutter speed at ISO 400.
I love it!



2 Responses